Your wafer handling robot just stopped mid-cycle. Production is down, and every hour bleeds money. According to ISM analysis of unscheduled downtime costs 2024, major manufacturers face an average cost of $125,000 per hour of unplanned downtime. The question is not whether your robots will fail—they will. The question is whether you can identify the failure mode fast enough to choose the right repair path before your production KPIs take a hit.
The pattern I see repeatedly across European fabs is surprisingly consistent. Maintenance teams react to failures instead of anticipating them. They wait until wafer rejection rates spike or until the arm literally stops moving. By then, the damage is done—not just to the equipment, but to your production schedule.
Frankly, most of what gets labeled as “robot failure” is actually predictable degradation. The failure modes follow recognizable patterns. Once you understand these patterns, you stop fighting fires and start building a workflow that intercepts problems before they shut you down.
The 4 failure modes at a glance:
- Mechanical wear — Bearings, belts, and joints degrade silently until positioning becomes erratic
- Positioning accuracy loss — Micron-level drift compounds until wafer handling becomes unreliable
- Electronic control failures — Controllers, sensors, and communication faults that require specialized diagnosis
- Contamination-induced degradation — Particle buildup and outgassing accelerate component wear in cleanroom environments
Mechanical Wear: The Silent Production Killer
Mechanical degradation accounts for a substantial portion of semiconductor robot failures. According to an academic review of industrial robot reliability factors, internal hardware failures—including mechanical unit, drive, and gear issues—represent one of the primary failure categories in robotic systems. The tricky part? Mechanical wear does not announce itself. It creeps up over thousands of cycles until one day the arm drifts out of tolerance.
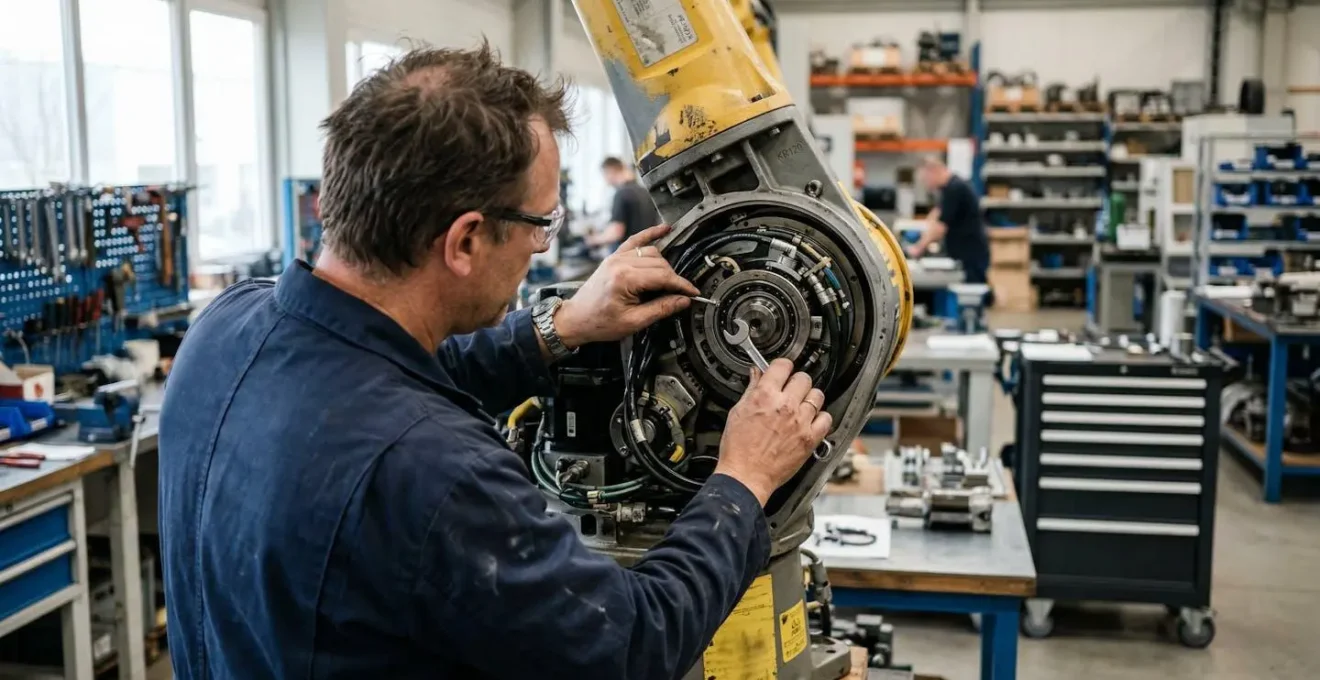
The warning signs are there if you look for them. Increased cycle time variability. Subtle vibration changes during arm extension. Positioning repeatability that degrades by a few microns each month. In my assessment of semiconductor handling equipment across European fabs, I consistently observe that teams ignore these early indicators because production is running “well enough.” Then a bearing seizes, and you lose 48-72 hours while scrambling for emergency repair.
Mechanical wear intervention thresholds: When repeatability degrades beyond ±50 µm from baseline, or when cycle time variability exceeds 5% of nominal, the equipment is signaling imminent mechanical failure. At this stage, proactive intervention—whether through a specialized robot repair department or scheduled maintenance—costs far less than emergency response.
The most common mistake maintenance teams make is assuming visual inspection is sufficient. You cannot see bearing wear. You cannot see belt tension degradation. You need trend data from your positioning logs, and you need to act before the numbers go red.
Positioning Accuracy Loss: When Microns Become Millions
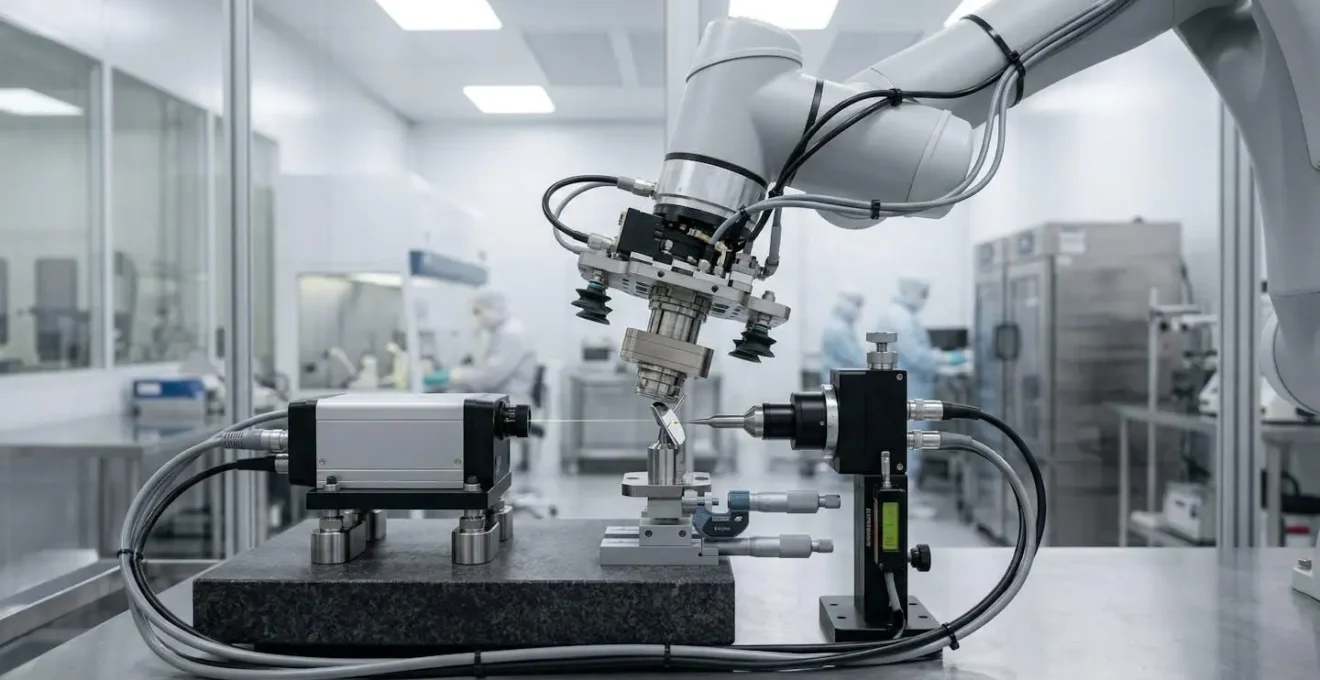
Here is a counter-intuitive reality: a robot showing positioning drift is not necessarily broken. In my experience, most positioning accuracy degradation is completely reversible through proper refurbishment. The arm structure is fine. The motors are fine. What has worn are the encoders, the timing belts, and the mechanical linkages that translate motor rotation into precise arm movement.
When positioning drift becomes unrecoverable: Structural damage to the arm itself—bent linkages, cracked housings, or corroded joints—is the threshold where repair becomes questionable. Short of that, even equipment showing 200+ µm of drift can typically be restored to original specifications through comprehensive refurbishment that replaces all wear components, followed by 24-hour repeatability testing to validate performance.
The principles that apply to semiconductor robot positioning extend to any precision automation of a processing line where accuracy determines product quality. What makes semiconductor handling different is the tolerance. You are working in microns. A drift that would be invisible in food processing can destroy yield in a 300mm fab.
My recommendation? Track positioning accuracy monthly, not annually. When drift exceeds ±30 µm from your commissioning baseline, start planning intervention. Do not wait for wafer scratches to force your hand.
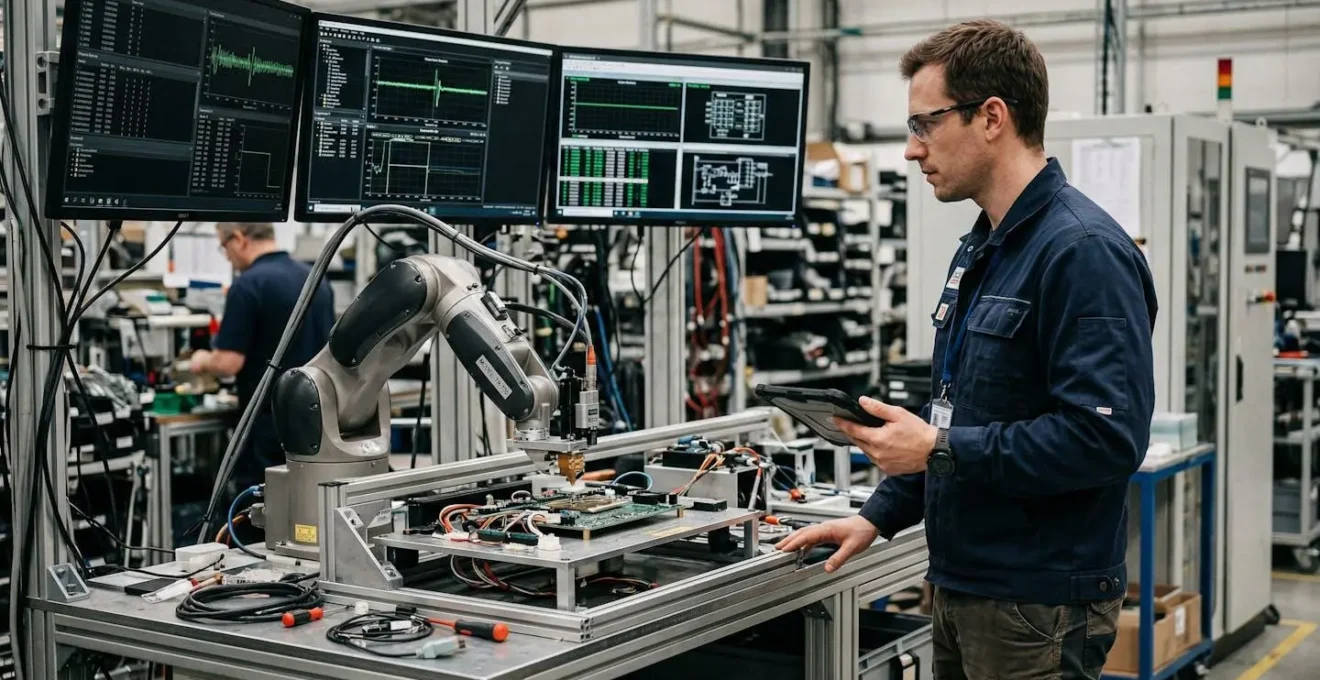
Electronic Control Failures: Diagnosing the Invisible
Mechanical failures you can often see or feel. Electronic failures hide. A controller that intermittently drops communication. A sensor that reads correctly 99% of the time but glitches during high-speed transfers. These are the failures that drive maintenance teams insane because the robot “works fine” during troubleshooting—until it does not.
Electronic failure diagnosis: German fab case
I worked with a German semiconductor facility maintenance team facing exactly this situation. Their 300mm fab had multiple pre-aligners showing intermittent positioning errors—sometimes perfect, sometimes 50 µm off target with no apparent pattern. The OEM had declared the equipment obsolete, with no replacement parts available.
The diagnosis revealed degraded optical sensors in the notch detection system. The sensors passed static tests but failed under the thermal cycling of continuous production. Full refurbishment with 24-hour repeatability testing confirmed restored performance. The equipment returned to production in eight weeks, at a fraction of replacement cost.
The lesson from that case—and dozens like it—is that “obsolete” does not mean “unrepairable.” It means the original manufacturer has stopped supporting it. Specialized refurbishment providers can often restore equipment that OEMs have abandoned, provided the core mechanical structure remains sound.
For electronic diagnosis, you need more than a multimeter. You need to replicate production conditions and monitor behavior over extended cycles. That is why comprehensive refurbishment programs include extended testing periods rather than just point-in-time verification.
Contamination-Induced Degradation: The Cleanroom Paradox
Your cleanroom is not as clean as you think—at least not inside your robot’s drive mechanisms. The paradox of semiconductor handling equipment is that it operates in a controlled environment while generating its own contamination through mechanical action. Particle shedding from belts. Outgassing from lubricants. Metal debris from bearing wear. All of this accumulates in places your cleanroom protocols cannot reach.
On the production floor, the reality is that contamination-induced wear accelerates every other failure mode. Particles in bearings accelerate mechanical wear. Outgassing residue on optical sensors causes positioning errors. The SEMI 2025 equipment market forecast projects wafer fab equipment investment reaching $115.7 billion—equipment that will face the same contamination challenges regardless of how new it is.
-
Failure detected, production stopped -
Diagnostic assessment confirms failure mode -
Repair decision: exchange (fast) vs overhaul (comprehensive) -
Exchange equipment delivered OR overhaul begins -
Overhauled equipment returned with 24h test validation -
Installation, final validation, production resumed
Contamination control strategy: When equipment comes in for refurbishment, comprehensive programs replace all seals, re-lubricate with cleanroom-compatible compounds, and clean internal mechanisms that production maintenance cannot access. This addresses accumulated contamination that in-situ cleaning cannot reach.
Failure mode diagnostic checklist
-
Check repeatability trend data for drift exceeding ±30 µm from baseline
-
Monitor cycle time variability for increases beyond 5% of nominal
-
Log intermittent communication errors or sensor anomalies over 48 hours
-
Inspect for visible particle accumulation around drive mechanisms
-
Verify OEM support status and parts availability for affected equipment
-
Document failure mode category before contacting repair service
-
Evaluate exchange vs overhaul based on production schedule urgency
Your next step
The difference between a chaotic failure response and an effective repair workflow comes down to one thing: knowing which failure mode you are dealing with before you pick up the phone. Mechanical wear, positioning drift, electronic faults, contamination—each points toward a different repair path and a different timeline.
Start with your trending data. If you are not already tracking repeatability and cycle time metrics monthly, that is where to begin. The robots will tell you when they need attention. Your job is to listen before the production line forces the conversation.